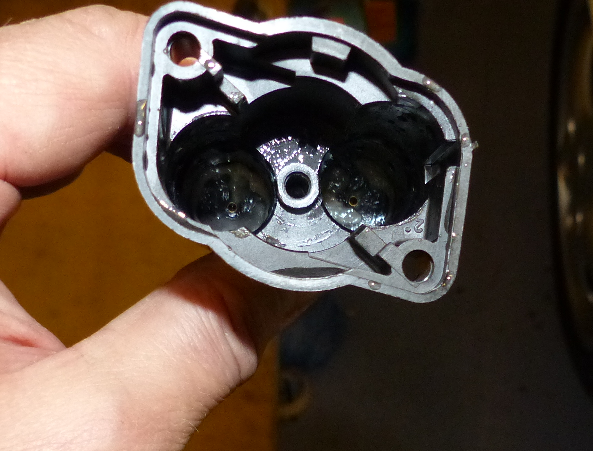

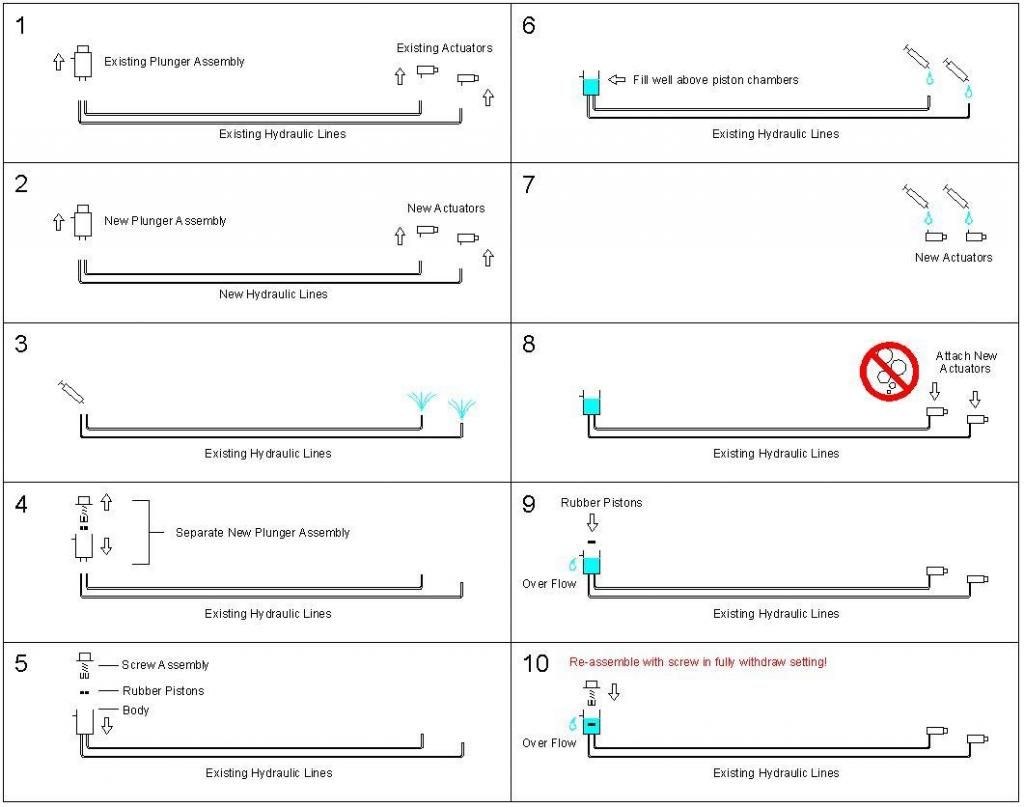
1 – Dismantle existing system. Be very careful when doing this as some components may be brittle with age. Carefully remove the brass inserts from the old actuators and re-use them in the syringes [ see photo 1].
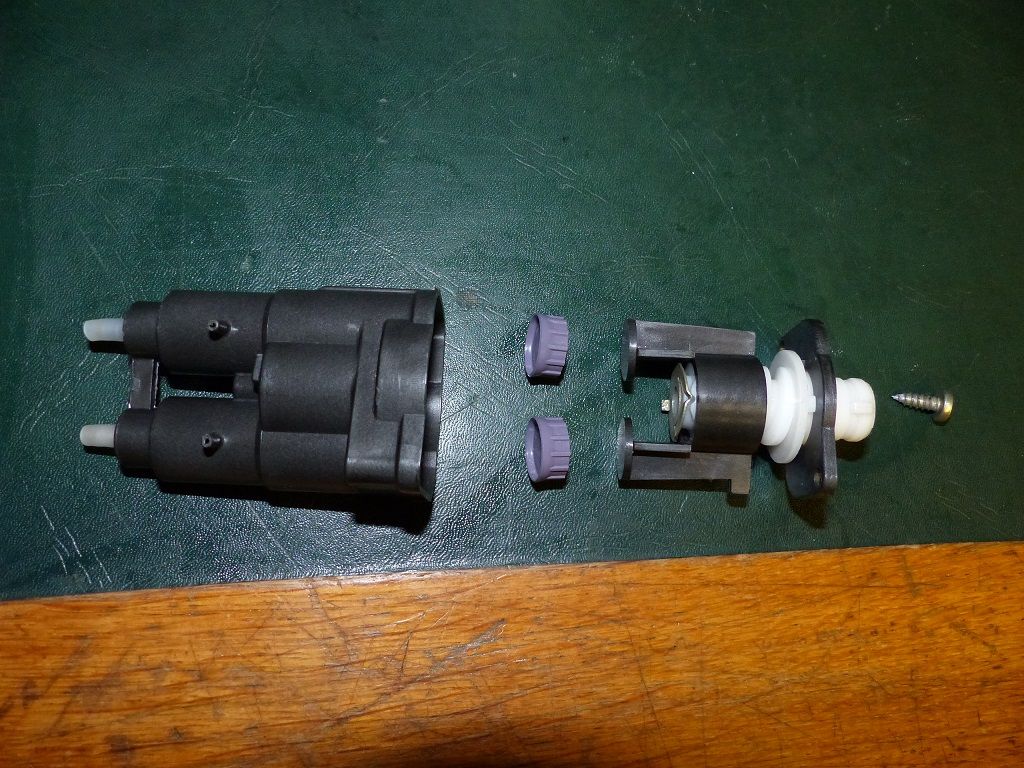
2 – Dismantle the new system. Check for grease contamination of the plunger assembly and thoroughly clean if necessary. [see photo 2]
3 – Use the syringe with the brass insert to flush out the existing hydraulic lines with air.
4 – Dismantle and re-assemble the new plunger assembly. Do this several times as so you become familiar with how it goes together and how it operates. There are a number of components that have to be aligned for it to work correctly. [ See photo 3]
5 – Attach only the body of the new plunger assembly to the existing hydraulic lines. .
6 – Make sure the new plunger assembly is supported in an upright orientation and inject the existing hydraulic lines with new hydraulic fluid from the actuator end. Make sure no bubbles are injected. Fill to well above the piston chambers.
7/8 – Flush the new actuators so they are bubble free and connect them to the existing hydraulic lines. . Make sure there are no bubbles trapped in the lines during this operation.
9 – Carefully drop the two rubber pistons into the piston chambers blow the fluid level and move them down into position so they are flush with the top of the chambers. Make sure they are the right way up and level! Some excess fluid maybe expelled from the over flow pipes so be prepared to catch this in a cloth. Once the pistons are in position you can syphon off any excess fluid above the pistons but leaving a small amount of fluid here will not interfere with the operation of the device.
10 – Re-assemble the screw assembly in its fully withdrawn setting including the final fixing that goes down the center.
11 – Test. The actuators should now operate in accordance with the measurements given in my previous posting and there should be a click at position ‘0’. If not then you may have assembled the plunger incorrectly. It’s possible to take it apart and try again without effecting the hydraulics which will now be sealed.
I will add some more photos later.
Ben