Wow, almost a year since my last update to this! I've just finished re-reading the thread and wanted to say thanks to everyone for the help and kind words - especially at the start when I had no clue what I was doing. (who am I kidding, I still have no clue)
I've also realised that I'm pretty useless at doing work I'd planned to do... The brake calipers have had no refurb, and the new wheel bearings are still sitting snug in their boxes, buried somewhere in the garage.
The car hasn't missed a beat though. Covered another couple of thousand miles, survived being the daily for a few weeks without a hiccough.
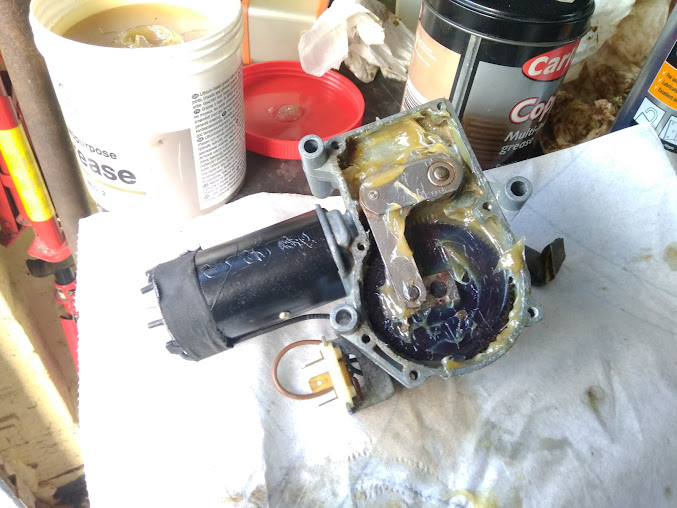
I haven't been totally bone idle though. The rear wiper motor got swapped out to a new second hand one from Woolies, as did my HVAC fan - my previous bit of grease kept it quiet for all of a week. Small things, but satisfying.
The rips in the front seats were getting bigger and bigger, and a set of 944 seats came up locally re-trimmed in non Porsche fabric. These went in as a temporary measure until I get new seats I want or get my old ones re-trimmed. I have managed to get my heart set on early manual sports seats, they just come up really rarely and even more rarely at a decent price!
Still not got a proper picture of the new seats, but half fitted - passenger is the new one, drivers is the old (in case you couldn't tell...)
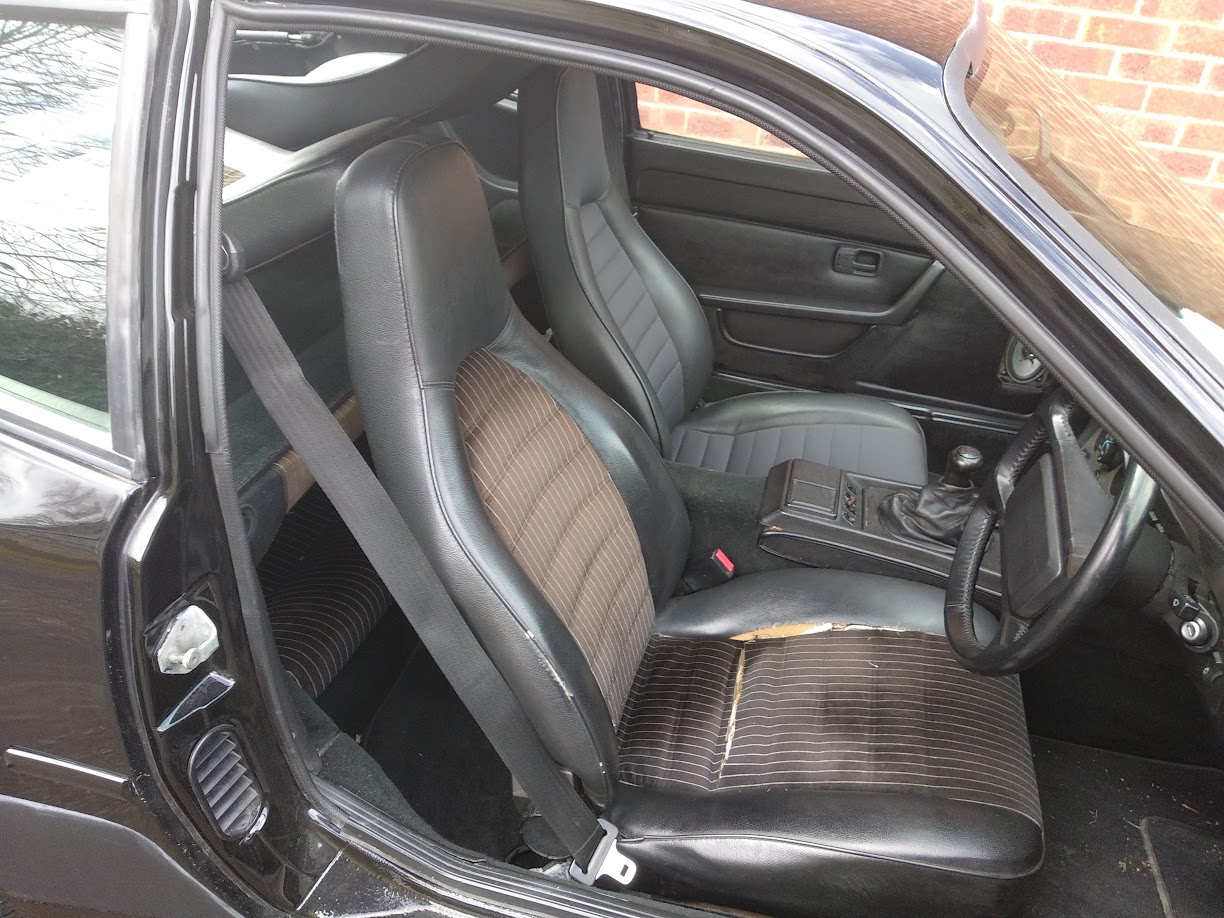
I also found a set of spacers under the drivers seat when I took the rails off. Removing these dropped the seat around 15mm, and hugely improved the driving position. My knees no longer have to dodge my hands on the steering wheel on sharp corners.
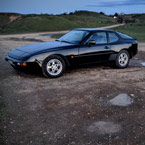
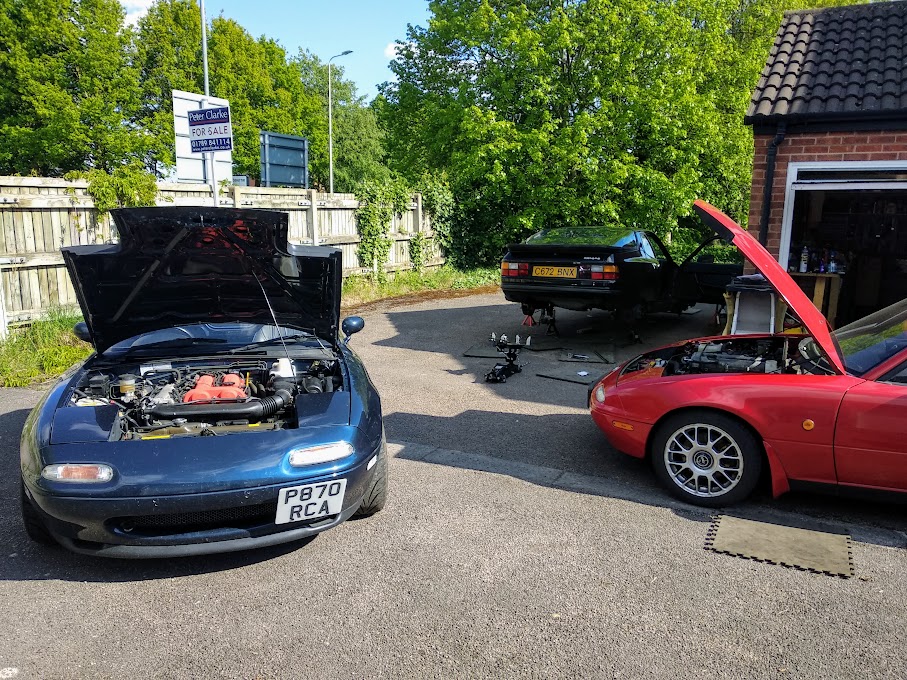
The biggest single improvement to the car so far came in the form of some new wheels. I must have been feeling unusually flush, because I shelled out for a set of early turbo 16" teledials. And new tyres.
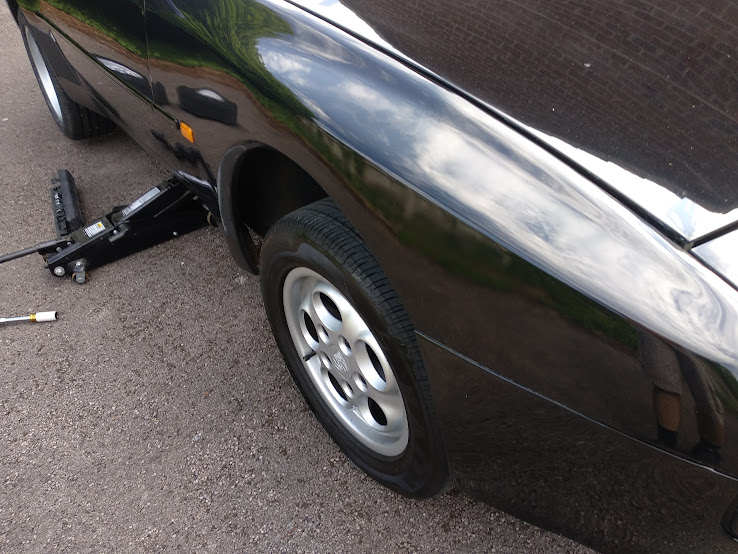
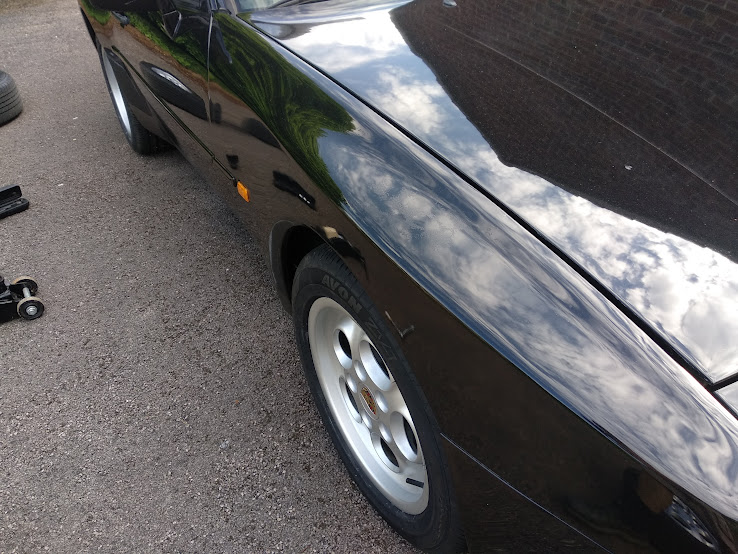
Goodbye old, Hello New.
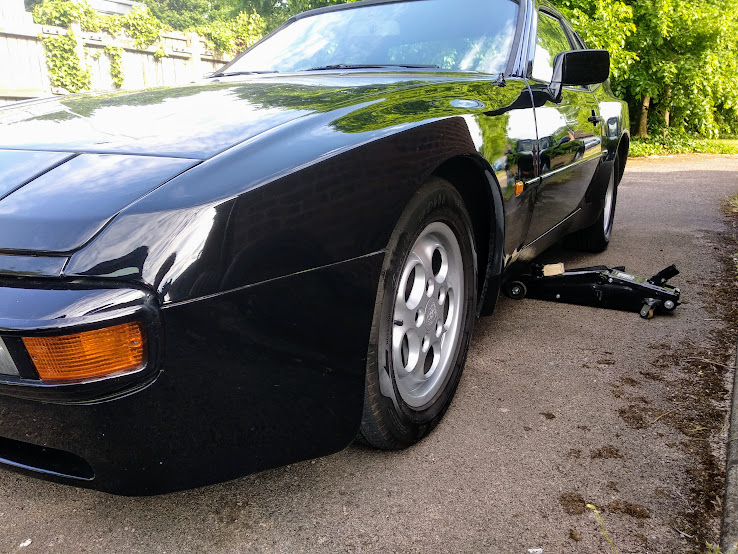

Pretty


More importantly, a bit less sidewall has transformed the drive. Far less 'body roll', which was in fact just squishy sidewalls, far more confidence changing direction, much better steering and road feel. For the first time since I bought the car and the 'newness' wore off, I'm now tempted by the Porsche keys instead of the Mazda keys every time I leave the house.
Back to smaller improvements, the weather was getting faaar too warm to be driving round with a passenger window that doesn't open! So door card off, few bolts later and the window mechanism can be slid backwards out of it's sliders... Plug it in, and it works perfectly


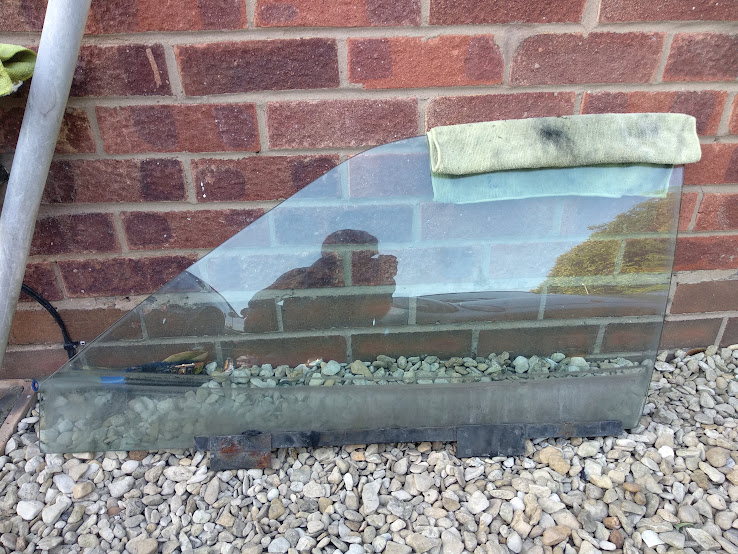
I took the opportunity to clean everything up - especially that grimy window glass and the seals - and put it back together. Hey presto, a working window!
While the door was all open I replaced the old door handle with the (badly cracked) plastic insert for a new later style solid metal one:

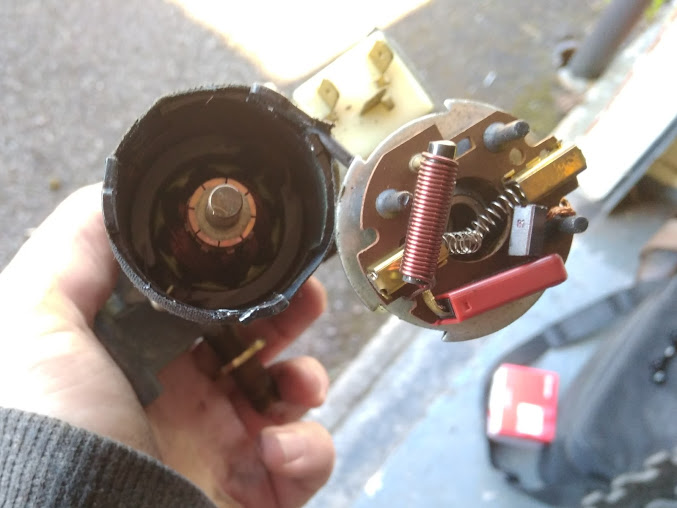
I didn't have a new lock barrel with the new handle. Mine never worked with the key either (I have no idea what happened in this cars past with keys and locks... nothing good!)
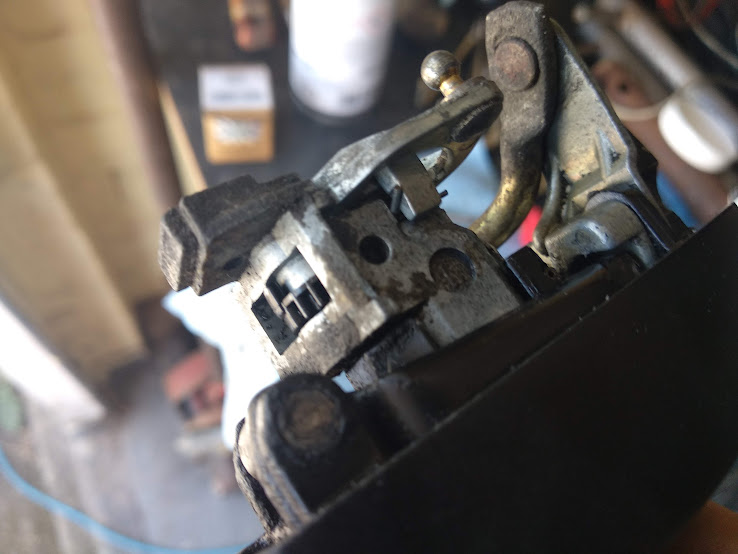
No wonder my key didn't open the door though:
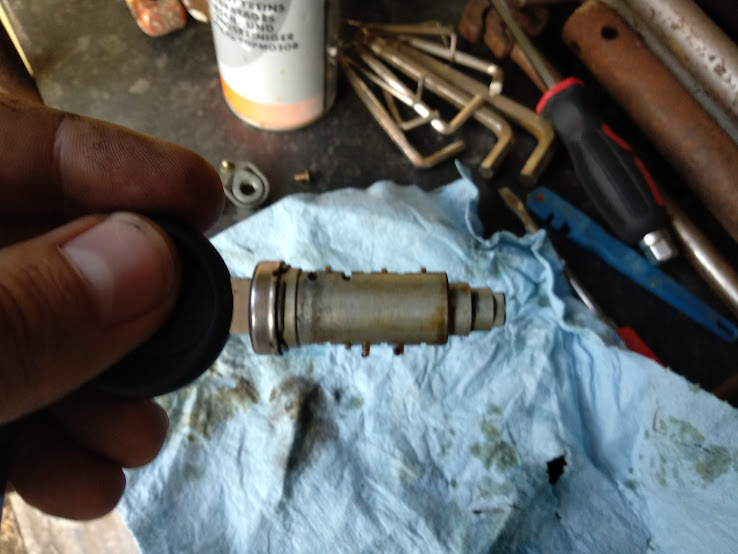
A lot of cleaning, and shuffling the tabs around gave a silky smooth barrel that matched the key

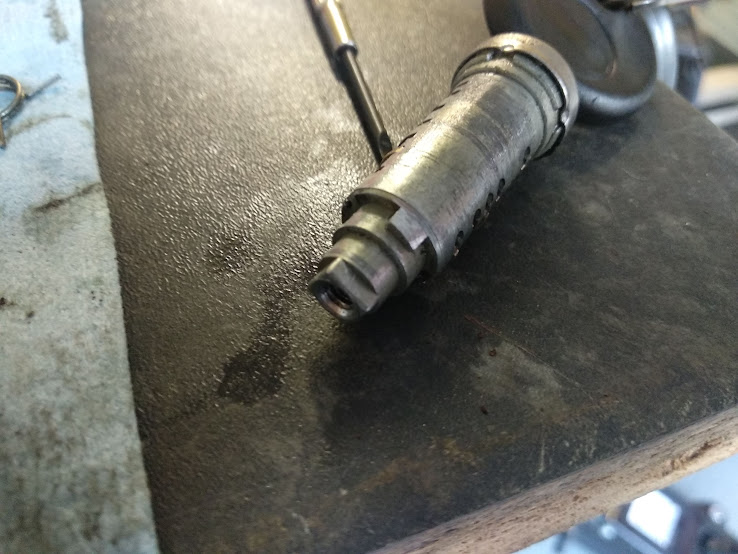
I then quickly found out that the barrel didn't match the new door handle

The new handle was from a central locking car, and my barrel from a non central locking car. Turns out there are three differences between central locking barrels and the older ones.
1) The 'rotation stop' tab at the end is a little thinner on central locking cars. That was easy to fix - file it down a little.
2) The rotation stop tab is 90 degrees out of place on the old lock barrel. That isn't so easy to fix... At least I thought it wasn't until I found that the spring mechanism provides exactly the same rotation stop for the barrel as this little tab should. As such grinding off the tab entirely makes no change to the operation of the lock so far as I can tell. Out comes the dremel. I'm not super happy with this 'fix' but it seems to be working perfectly well.
3) Central Locking barrels have a gear at the end to engage with a plastic gear on the handle that activates the switch for central locking. This plastic gear stops the old barrel being fully inserted. I couldn't remove this gear, so I filed it back to allow clearance to the old barrel.
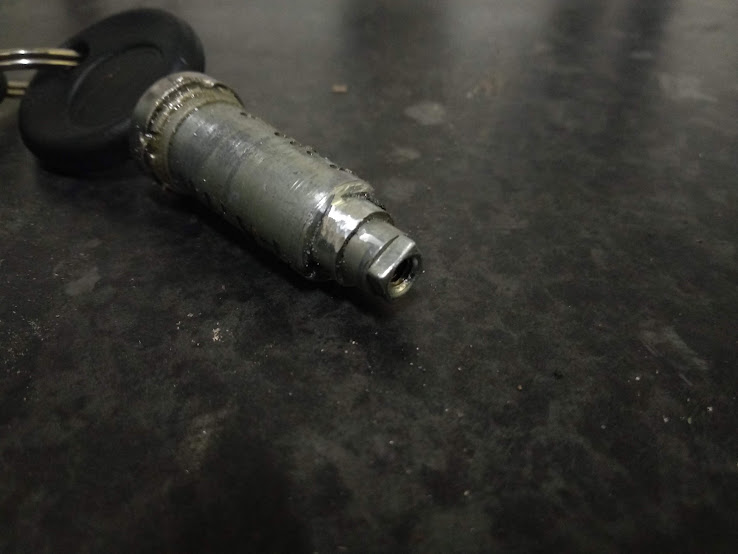
That lot felt a little bodgy, but has resulted in the smoothest operating lock on the car
Re-fitted the handle with the new seals I bought about a year ago, and it is a massive improvement. A bit of grease on the opening mechanism has made it a very satisfying door to open too. I need to do similar to the drivers door! I never use this one...
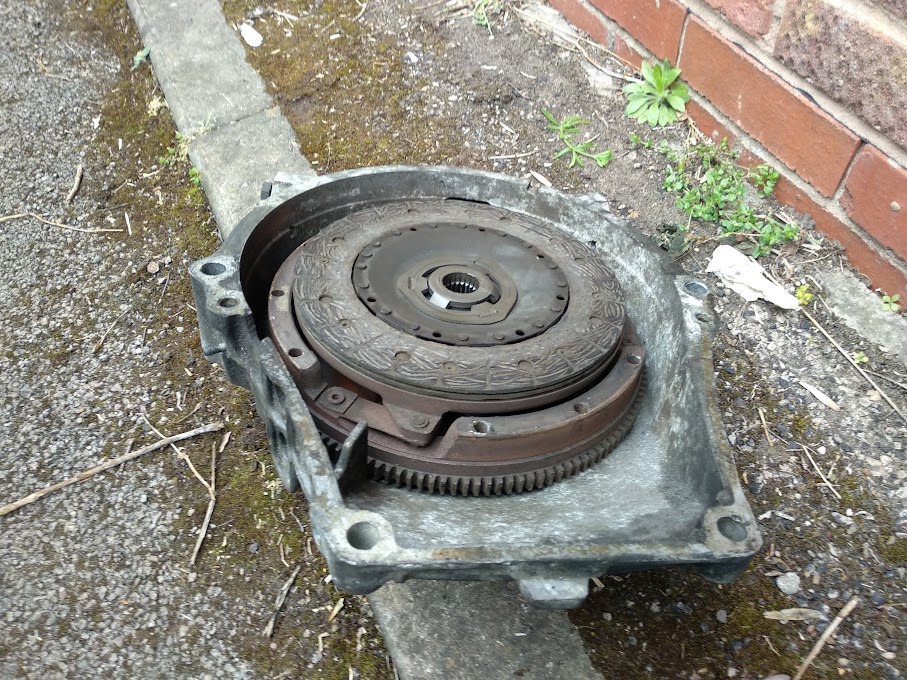
Now onto the interesting and currently unfinished bit - I have the same loose, wobbly gear stick as I imagine most people here do, or at least have had at some point. I looked into various ways of fixing the play at the front - mainly found the thrust bearings/washers method, and the 968 plastic bushes method.
I also asked a friend who spends most of his free time in his machine shop designing, building, perfecting (and then breaking
) a completely custom TT motorbike. He used to race it in the likes of the Isle of Man TT. He had a different solution to it. He felt thrust bearings were very difficult to set up to have zero play but also smooth movement, and he was very skeptical of plastic bushes giving no play. His suggestion was to drill and ream out the link arm to 12mm, and fit an oilite bush. This is essentially a porus, sintered brass bush that has been impregnated with oil for self lubricating. They're also nice and cheap and readily available.
So, we decided to give it a try. He's machining and fitting a new pin for the gearstick (I'm designing a high speed engine data logging and display system for his motorbike to help with his engine tuning), and I've been using power tools in my car
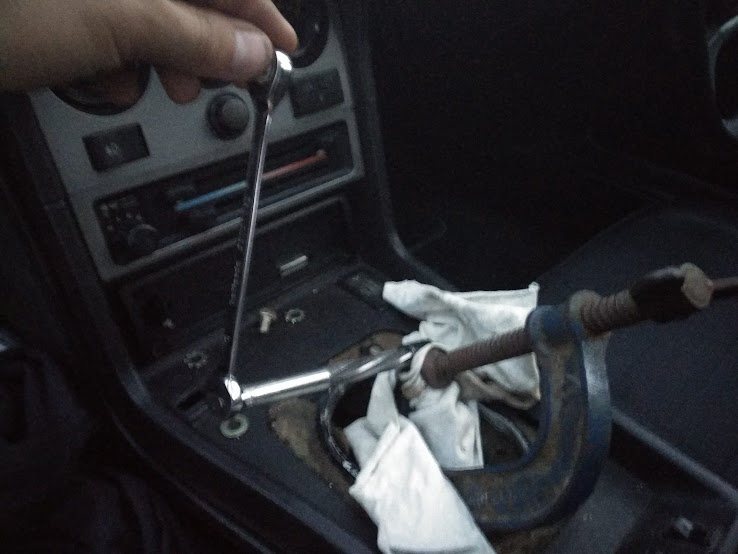
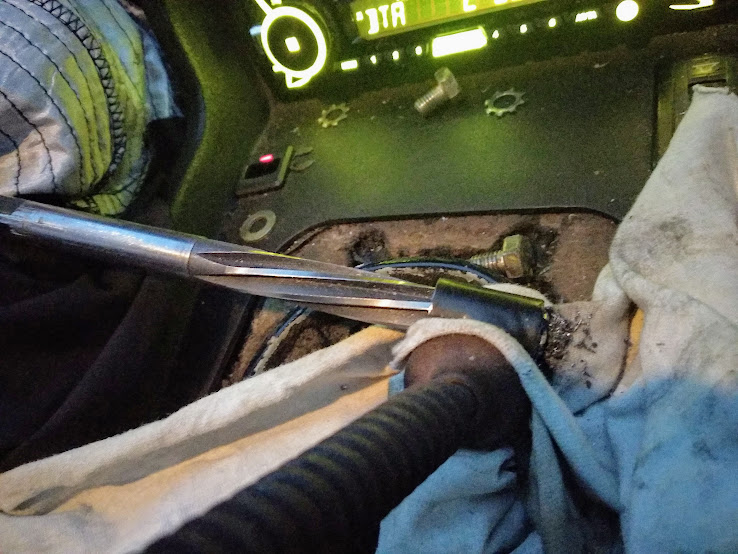
(lots of cloths protecting everything, promise! It was that or drop the gear box to get the link arm out...)
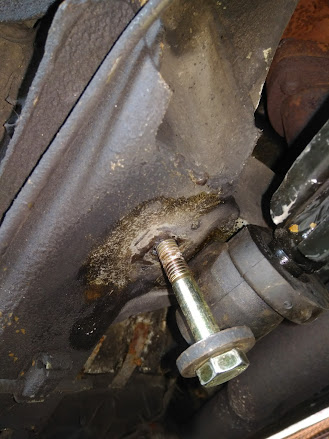
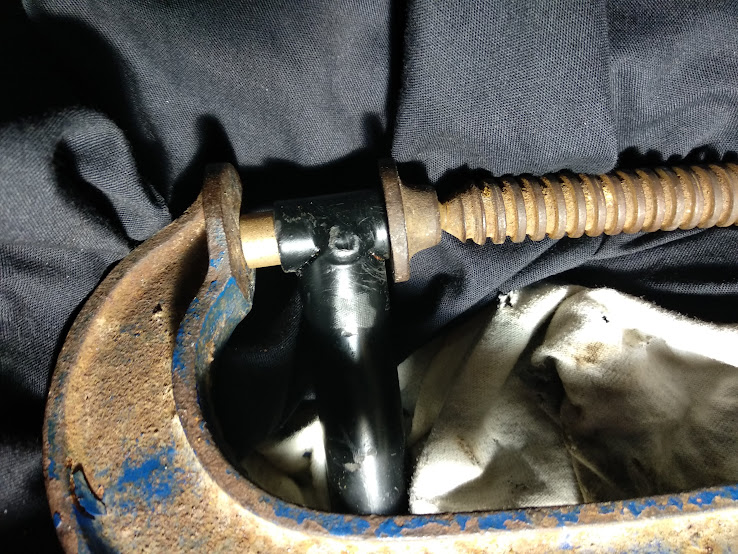
Clamp link arm in place, and protect the interior:
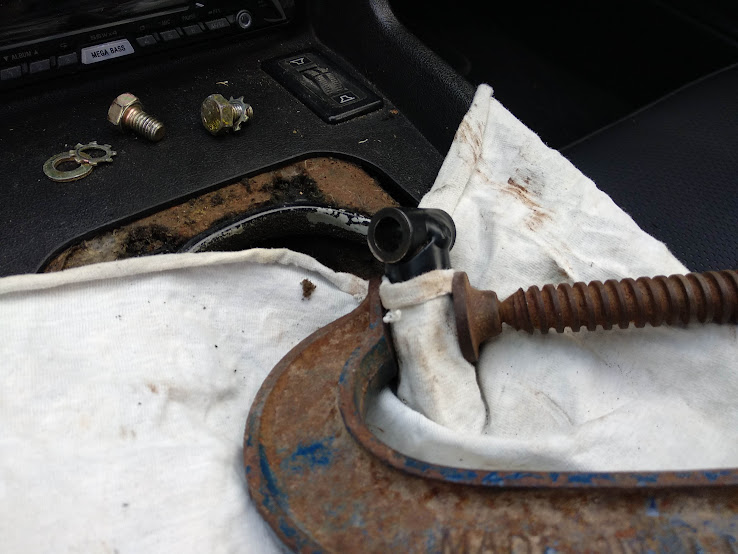
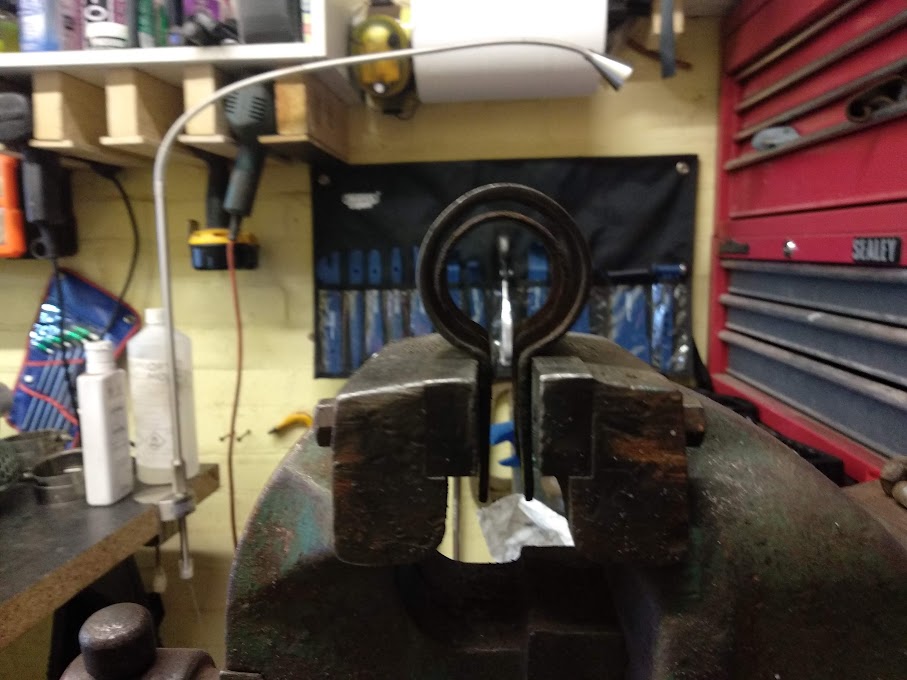
More cloth and a plastic bag to catch the oil I need to lubricate and cool as I drill:

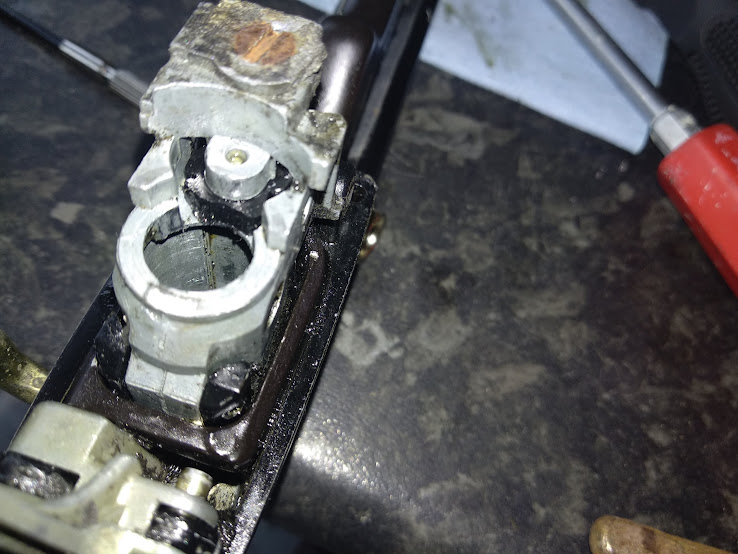
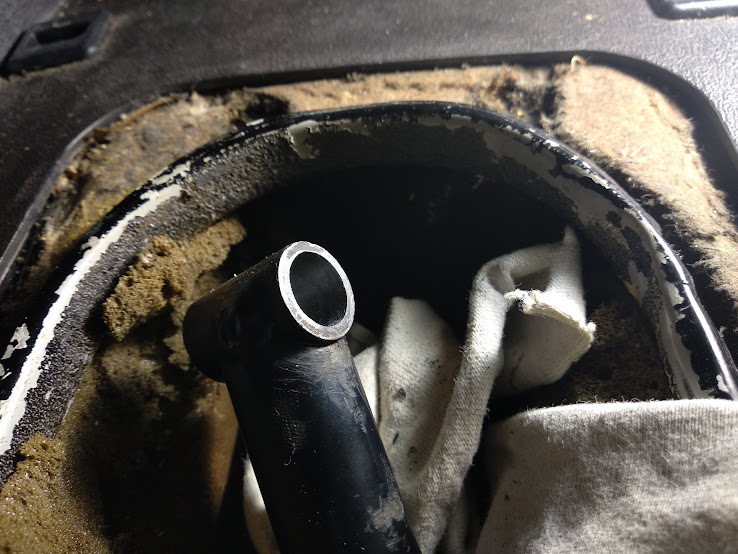
Drilled it out in 0.5mm steps from 10mm to 11.5mm, then reamed it out to 12mm by hand:
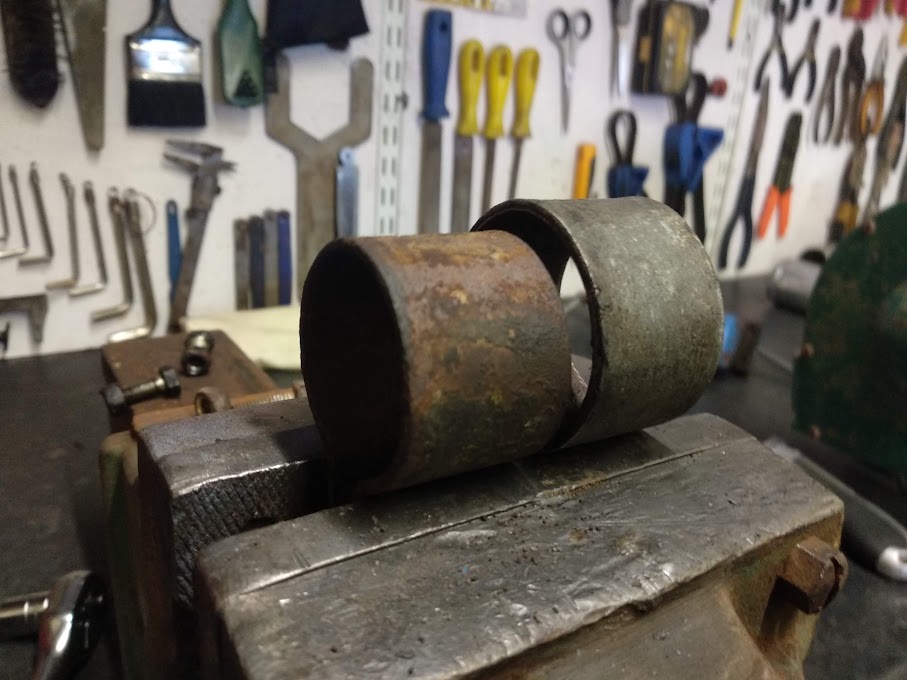
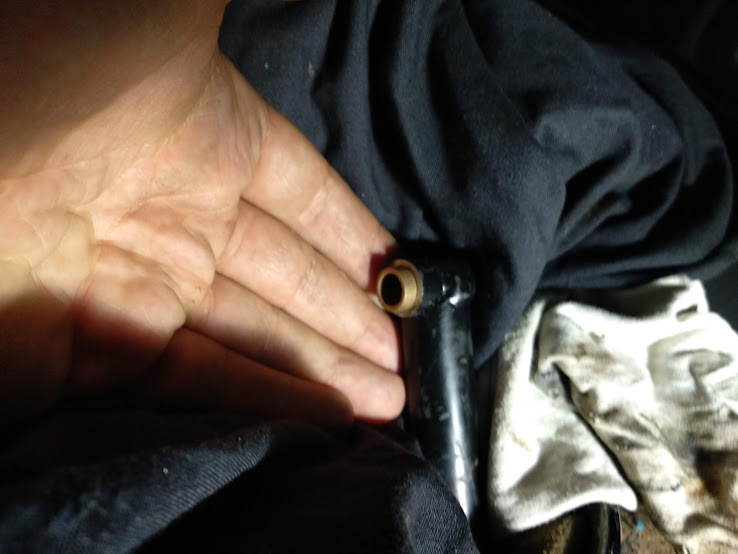
Thankfully the gear linkage end had very thick walls to start off with, reaming out to 12mm has left plenty of material in place:
Then press in the 12x9x14mm oilite bushes. I could get 10mm length or 14mm length - I opted for 14mm, press one in from each side, then trim the excess off.
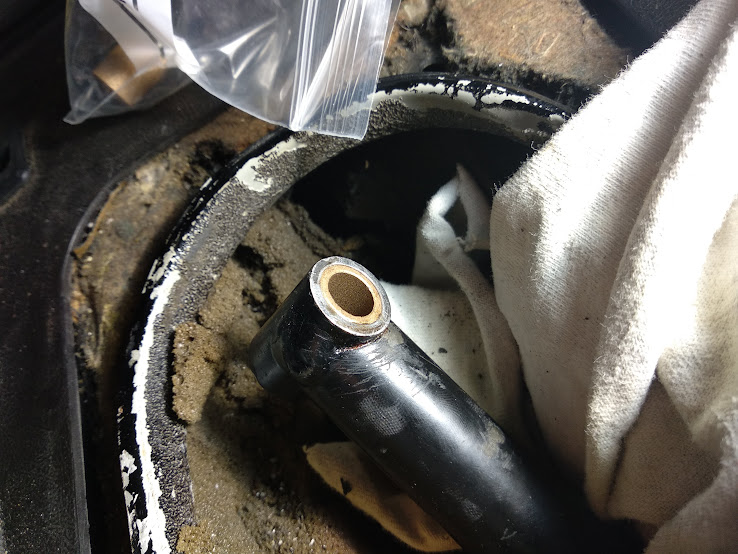
If you're paying attention you might have noticed that the bushes have a 9mm ID, so they are going to have to be carefully reamed out to 10mm for the new pin.
That's as far as I got last night... Heading to Goodwood for the weekend, then hopefully by Monday I'll have the improved gear stick and I'll be able to get it all back together and see if it's worked!
PS: Anyone is after a set of staggered 15" teledials, or ET23.3 cookies with a semi-passable DIY polish and paint job? I know I gave 15" wheels such a glowing review above, but I need to sell the old ones on now